First look: XenApp and XenDesktop 7.5 – part five (creating the delivery group)
This is part five of a series looking at XenApp 7.5.
Part one – What’s new, and installation
Part two – Configuring the first site
Part three – Preparing my XenApp template image
Part Four – Creating the machine catalog to give me a hosting platform
This part – Creating the delivery group to publish apps and desktops to user
In Part six I examine some new policy filtering options
In Part seven I examine some of the load balancing and fail-over changes
So we now have our hosting servers provisioned via our machine catalog. We now need to assign which applications get published to which users. Those familiar with the XenApp 6.x publishing wizard should find this step very straightforward, and the XenApp 7.5 version adds the ability to publish many applications simultaneously.
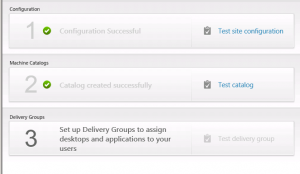
So, we’re now on Step 3 of the initial deployment wizard.
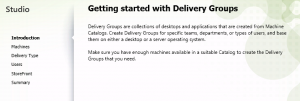
Clicking on Step 3 launches the delivery group creation wizard.
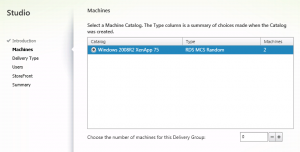
The first question is which machine catalog that will be used for this delivery group. You can also choose how many of the available servers you want to utilise. Given I only have two provisioned in this particular catalog, I’ll use them all for my delivery group.
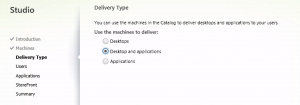
Next you choose what you want to deliver to users. You can just publish the server desktop, just applications, or both if you want to give users the choice.
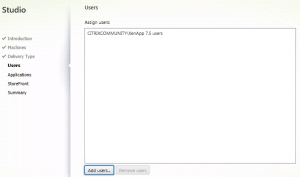
The next step is choosing the Active Directory domain group that you want to utilise this delivery group. Note you can only choose AD Users or Groups here.
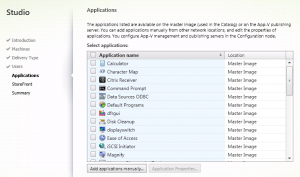
You may have noticed that MCS has powered on one of the VMs in your machine catalog by this stage. This is because the wizard needs to enumerate the available applications from within the image. If this page takes some time to display, it’s because that VM is still most likely booting up.
You can now choose the application(s) that you want made available to members of this delivery group. XenApp enumerates the start menu shortcuts, and gives you the option of manually adding any applications that aren’t on the start menu.
The final stage is to configure the Receiver client on that server if you want to utilise a double-hop scenario and run Receiver within that XenApp session. This is probably utilised more often when publishing XenDesktop-based VDI desktops, but you do get the option to configure the SF store in XenApp also.
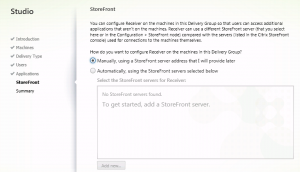
Clicking on the final screen shows a summary of what will be created, and away it goes.
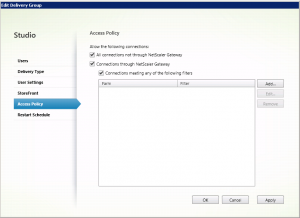
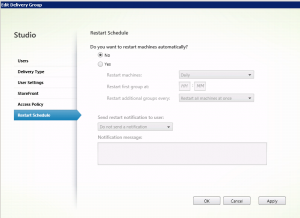
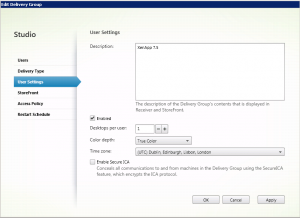
Note you won’t have seen some familiar screens that you may of been used to from previous versions of XenApp: Netscaler Gateway access, resolutions settings etc. Dont’ worry..these are still present, but are only configurable after the delivery group has been created. Just “Edit delivery group” and several extra screens are available:
The user settings option to configure colour depth etc
The access policy settings to configure SmartAccess policy
Reboot schedule:
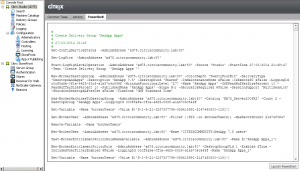
Tip:Remember you can use PowerShell to automate the creation of delivery groups (or indeed any item in the site) if you wish. You can view the PowerShell produced by any action in the Studio console by selecting the “Powershell” tab in the main Studio view:
So we’re now in a position where we can connect to our newly published XenApp 7.5 applications and desktops via StoreFront.
XenApp 7.5 build and configuration complete!
Whilst this blog has been published in parts over the space of a week, the actually start-to-finish implementation of both XenApp 7.5 and StoreFront was a couple of hours. Pretty impressive you’d have to agree.
Leave a comment
You must be logged in to post a comment.

