Microsoft Windows ThinPC OS – first look
Microsoft recently released the Community Technology Preview (CTP) of their new cut-down OS for Thin Clients workstations based on Windows 7- “ThinPC“.
I downloaded the ISO and spun up a VM in my lab to see how it looks. Here are the results.
Create the VM
I created a VM based on Windows 7 x64 template in XenServer. This allocated 4Gb of RAM, 1 cpu and 20Gb hard disc.
Boot the installation ISO
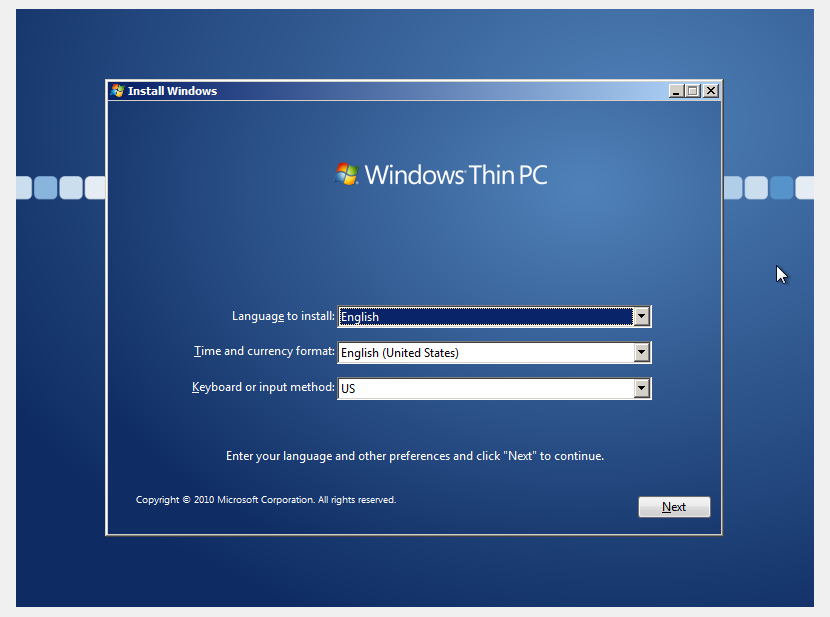
We see the now-familiar language-selection screen, although we’ve got a new blocky blue background.
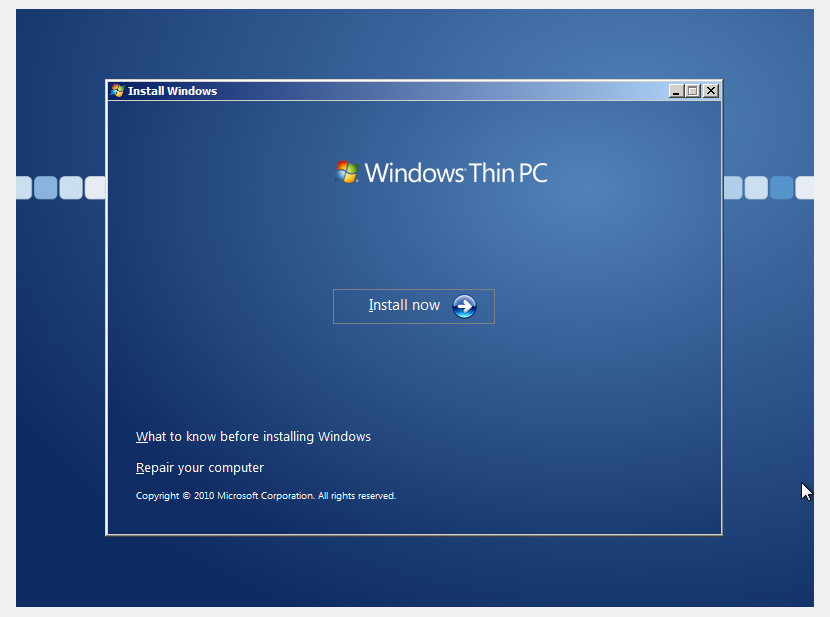
Let’s choose our language and continue. Nothing exciting here, although clicking the “What to know…” link opens a HTML help file that refers to Windows 7.
Clicking Install Now…
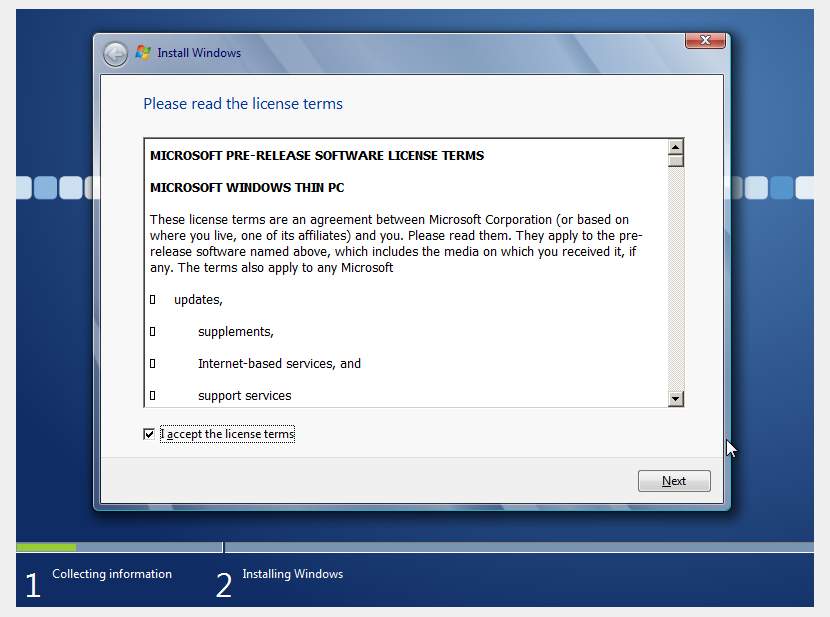
Given this is a CTP release, we have to accept the pre-release terms and conditions.
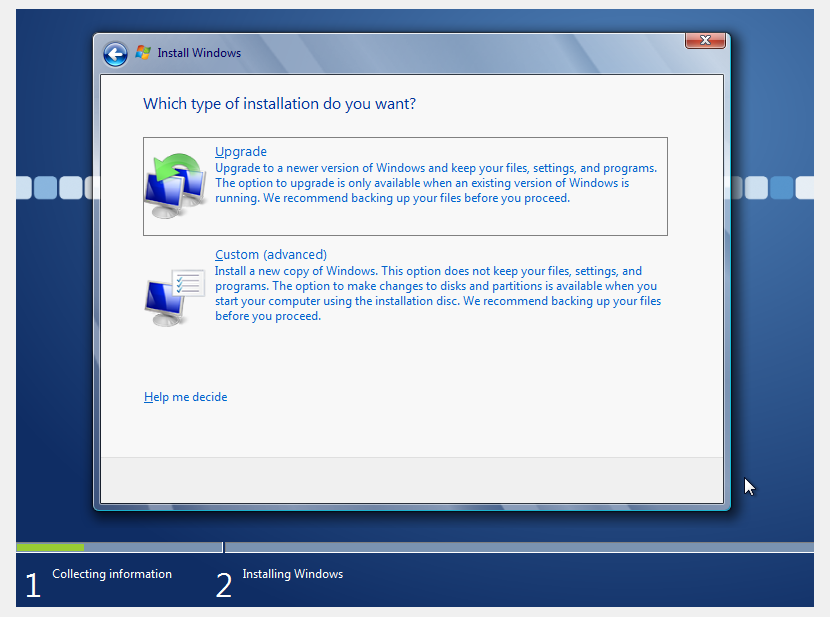
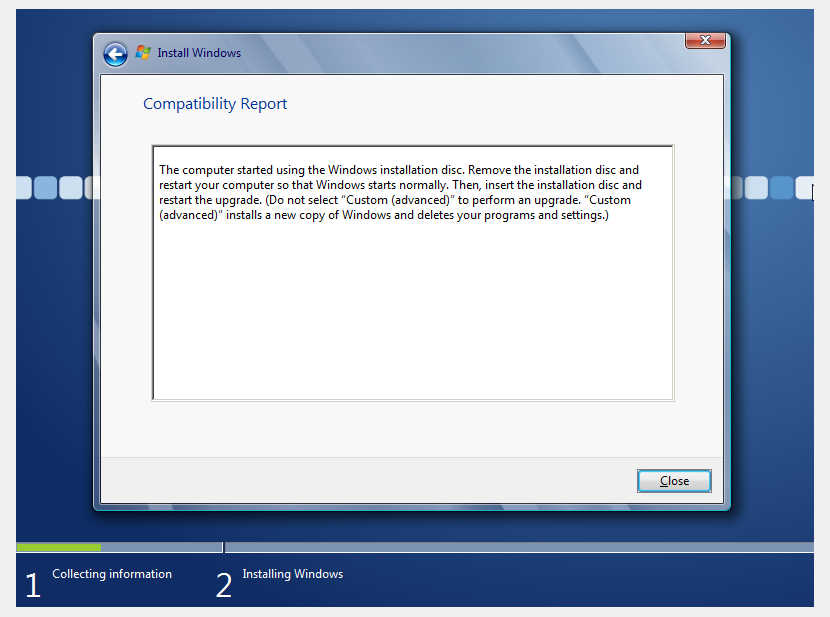
Next up, a choice. Upgrade or Custom. I’ve never worked out why Microsoft continue to give you an upgrade option when there’s clearly nothing installed on the hard disc (it’s unformatted infact). I guess it’s to remind you you CAN upgrade by rebooting into the OS and not booting from the CD.
In fact, choosing Upgrade tells us exactly this:
We close this dialog and start the installation again. This time, lets choose the Custom option:
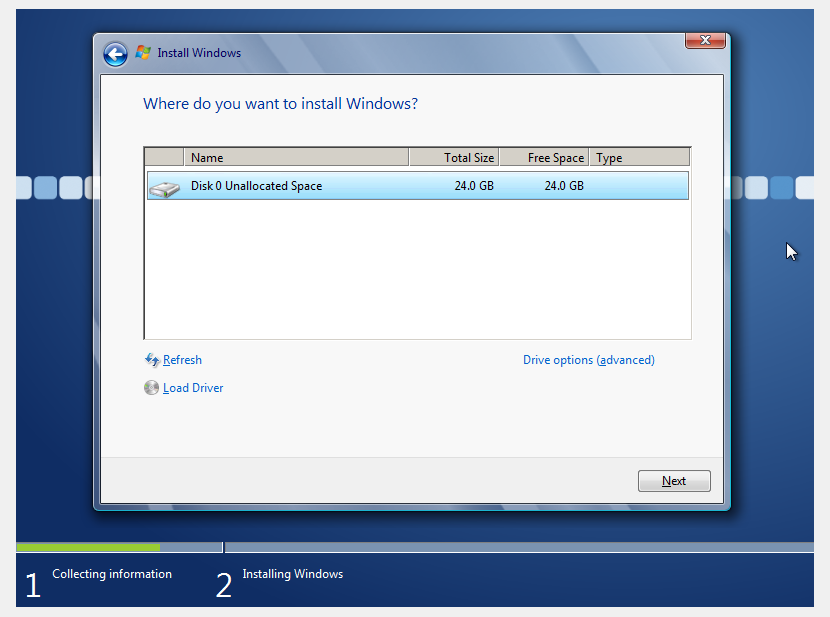
We see the standard Windows 7 disc selection dialog. Not much choice here, so let’s continue.
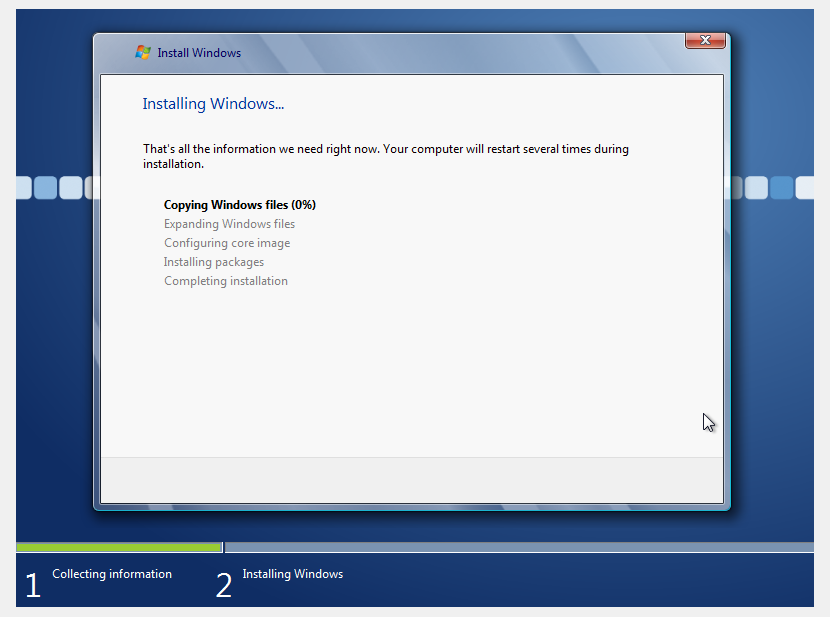
The installation then proceeds at quite a rapid pace. This stage which probably took a good 30 minutes for Windows 7 completes in about 10 minutes for ThinPC.
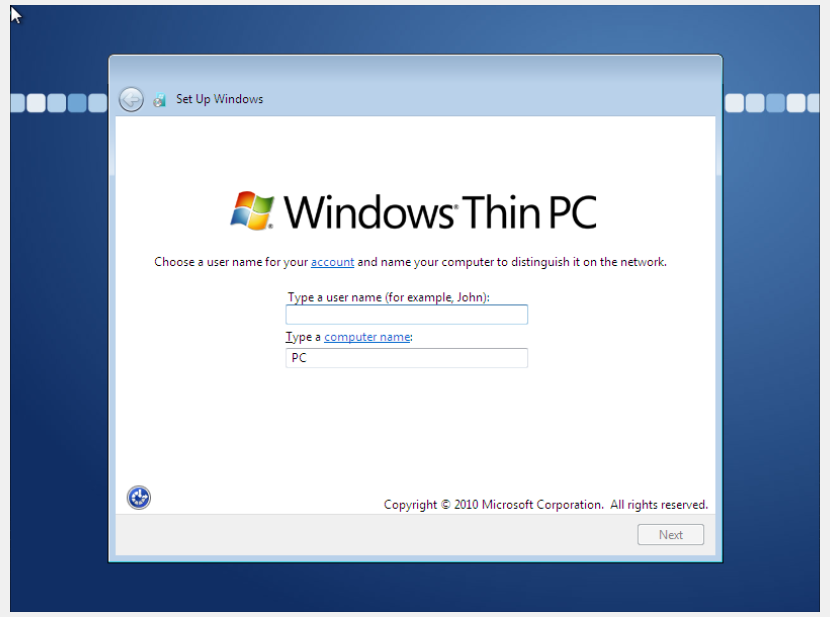
We reboot the VM, and are into the initial setup wizard:
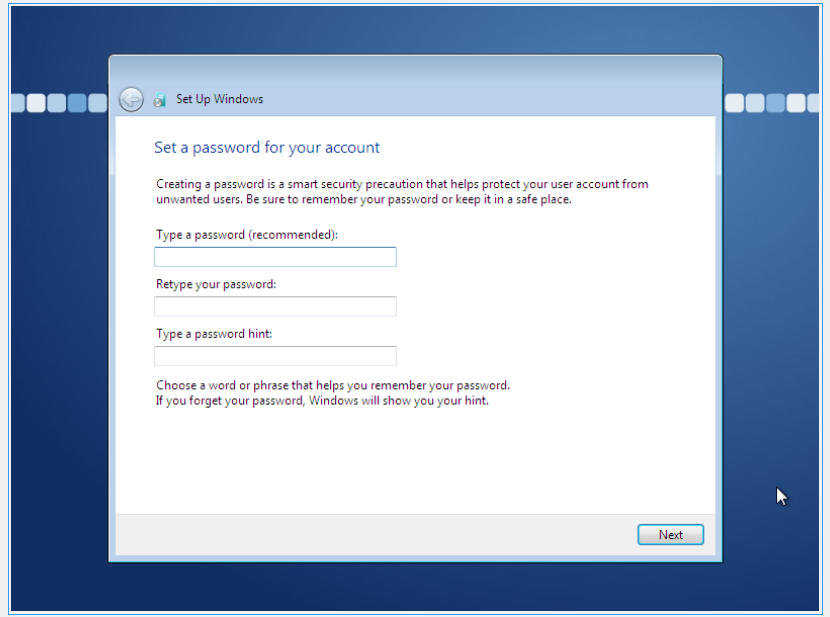
We enter a username and set a machine name. Next, choose a password (optional, not compulsory we note)
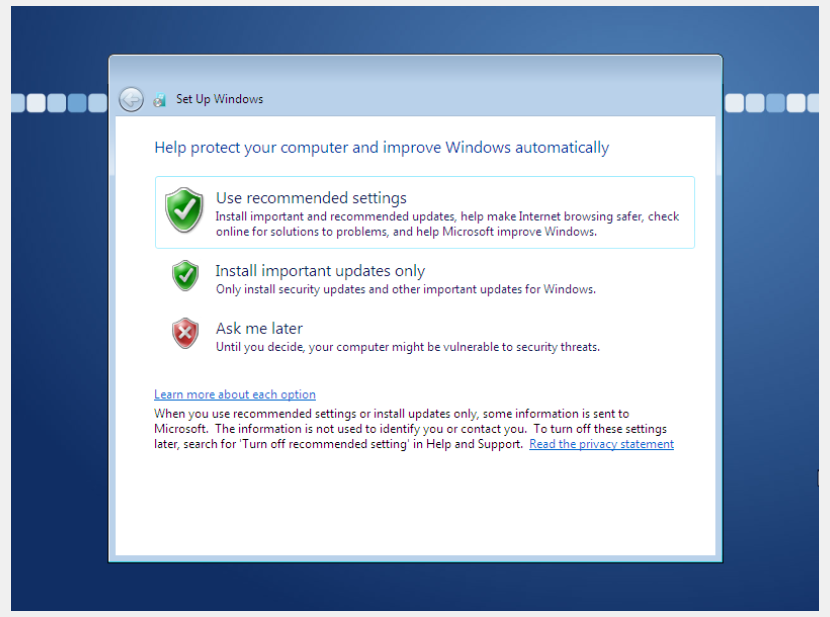
Choose the security and Windows Update configuration:
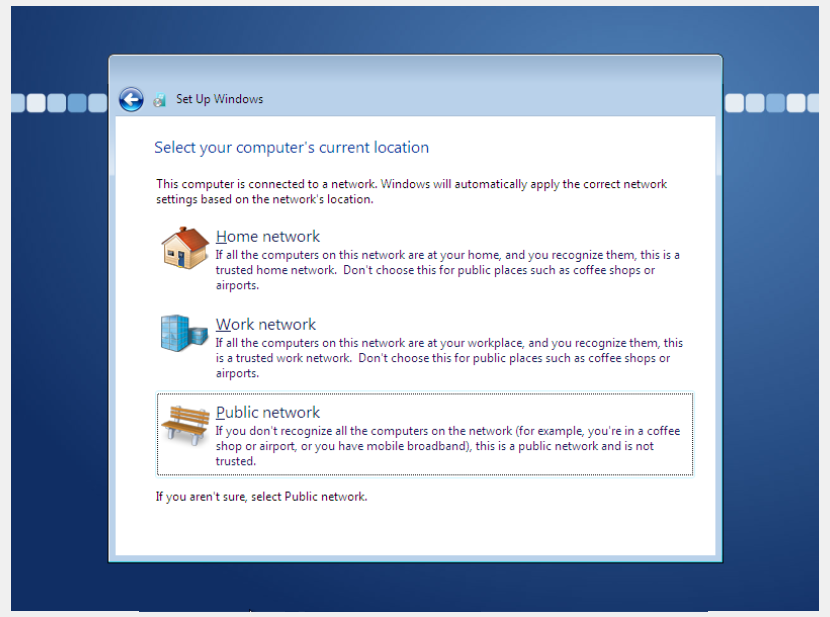
Choose what kind of network we’re connected into. We chose “work”, despite this being a playground.
ThinPC features
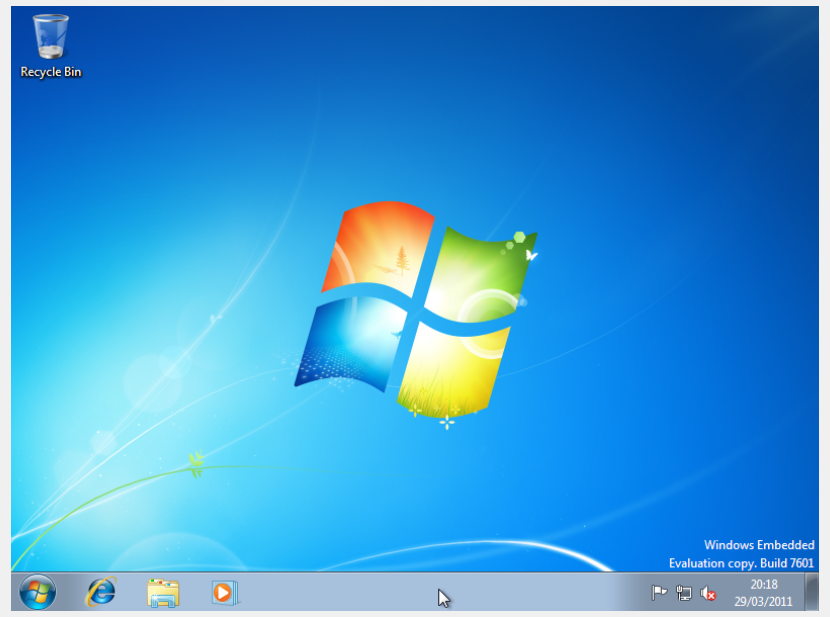
We skip over entering the license key (as we don’t have one because it’s a preview release), and we’re into the desktop:
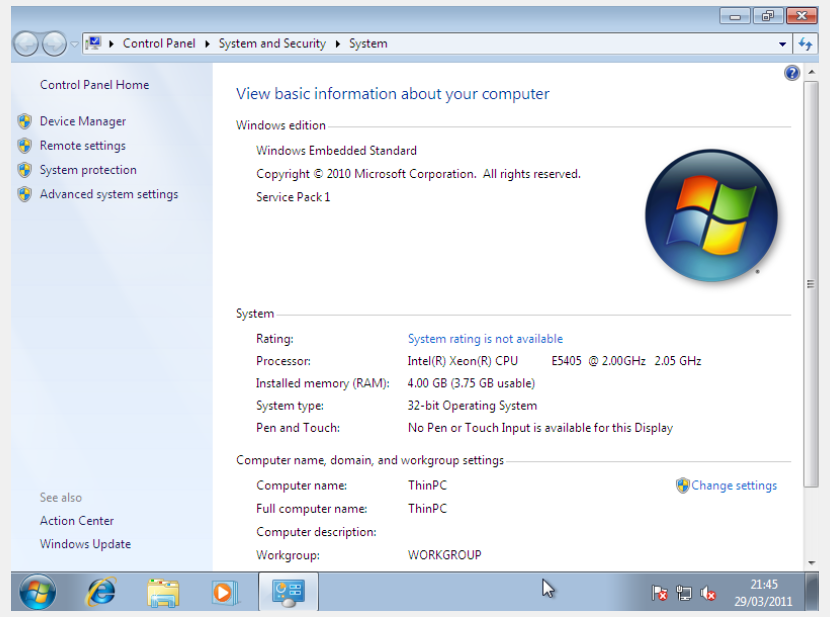
Looks very much like Windows 7. Let’s see what system properties says:
Hmm…no mention of ThinPC. It’s all “Windows Embedded Standard” here.
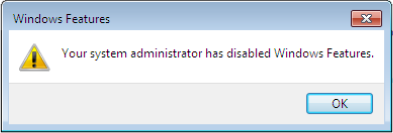
Let’s see what windows features we have:
Oh really? I don’t remember doing that. I’ve not disabled anything! We’ll need to investigate that later.
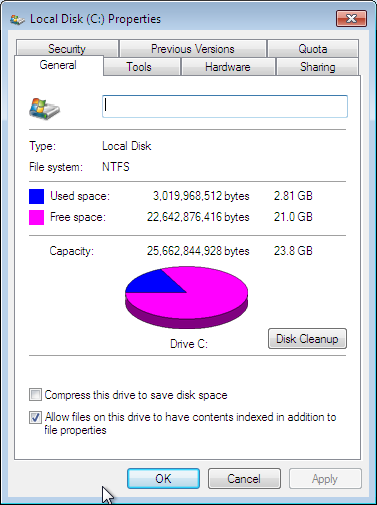
Let’s examine the disc footprint:
So we’re looking at almost 3Gb for a default install. It’s not yet clear whether we can reduce this further by adding or removing any features.
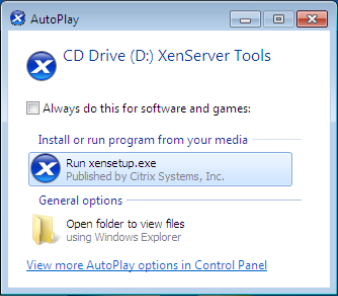
XenServer tools
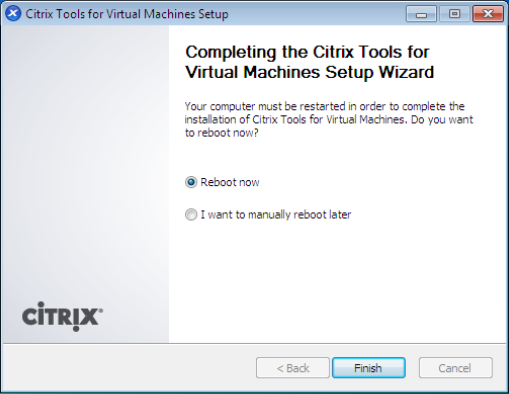
Let’s press on, and install XenServer tools.
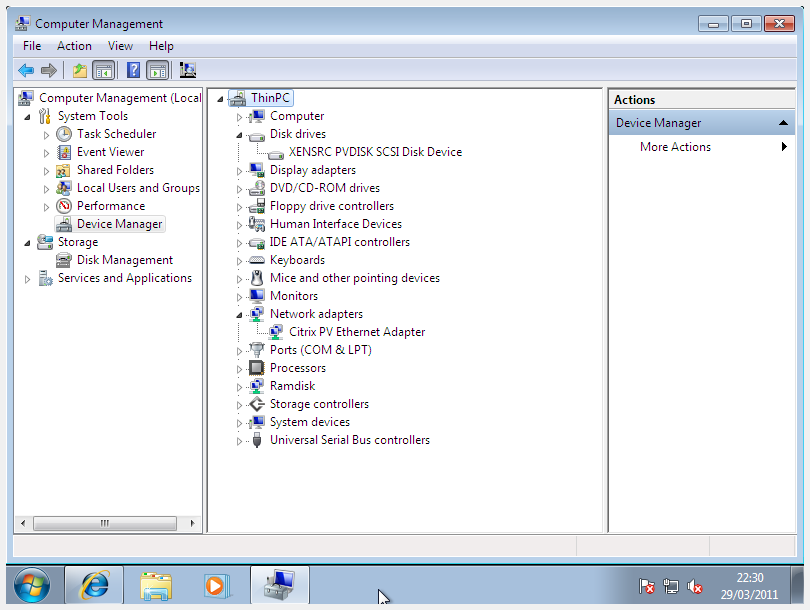
All seem fine so far. Let’s reboot and see what drivers we have:
Our Para-virtualised disc and network drivers are all present and working. Success!
Citrix Receiver
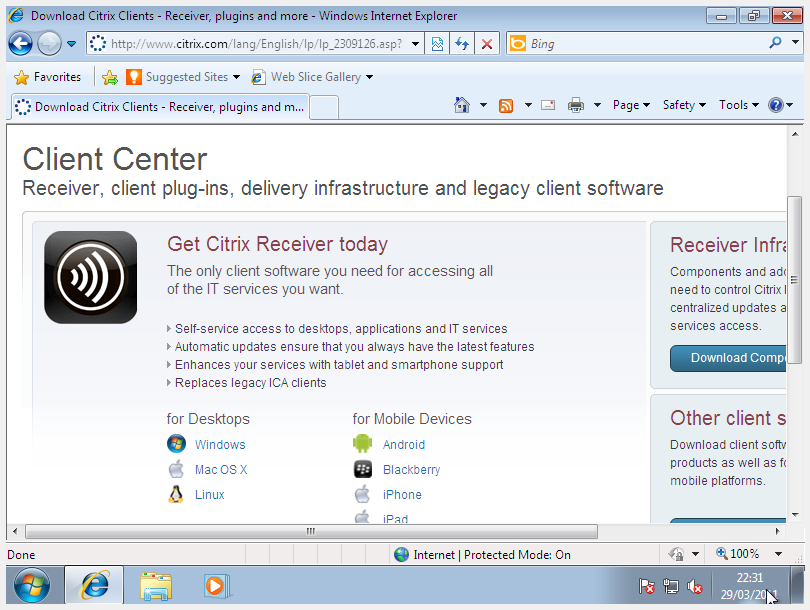
We seem to be on roll, so let’s fire up IE and download the latest receiver client from Citrix website.
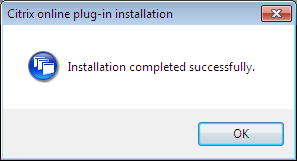
We continue and test launching a XenApp session via Web Interface and all works as expected!
Start-to-finish, installation took about 30 minutes (excluding screenshot taking!)
I’ll examine performance characteristics, cpu and memory usage, in a future blog post.
Leave a comment
You must be logged in to post a comment.

