
First look: XenApp and XenDesktop 7.5 – part three (creating the template image)
In part one of this blog series I examined the new features in XenApp 7.5, and the installation process.
In part two I setup the hypervisor connection and created the first site in the Studio console
In this part will create our XenApp image that MCS will then use to create our hosting platform for users and applications.
In part four I create a machine catalog to provide some XenApp hosting servers ready to publish my applications from
In part five I create the delivery group to publish applications and desktops to my users
In Part six I examine some new policy filtering options
In Part seven I examine some of the load balancing and fail-over changes
I start by using a native installation of Windows 2008R2. I could of course choose Windows 2012 or 2012R2 as the XenApp 7.5 VDA supports all of these operating system versions. Using Windows 2008R2 will probably be a good first option for users on XenApp 6.5 as you’ve already tested your applications on that version of the OS. You can then introduce Server 2012R2 alongside these, and start moving your applications across to provide an easy migration using the same XenApp infrastructure (finally!)
VDA installation
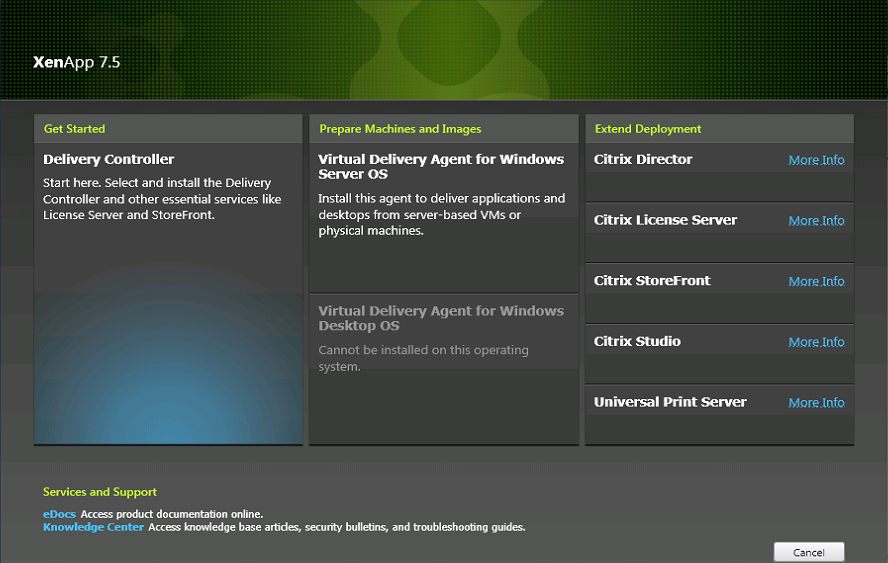
Mounting the same XenApp 7.5 media, I choose the “Virtual Delivery Agent for Window Server OS” – note the installer has detected I’m running on a server OS and not a desktop OS and displayed the appropriate agent.
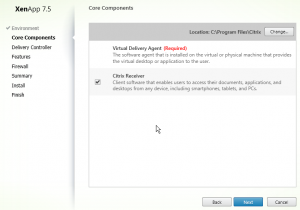
The familiar installation wizard appears showing the components that will be required. I can choose to install Receiver alongside the VDA if I wish.
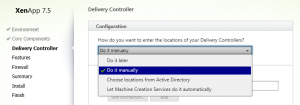
I now need to specify how my XenApp server will locate the delivery controller(s). There are several choices:
- Do it later
- Do it manually (the values you enter get hard-coded into the registry)
- Choose locations from Active Directory (Registry keys get set via XenApp policy or GPO)
- Let MCS do it (MCS populates the Personality.ini file)
As I’ll be using MCS, I choose the last option.
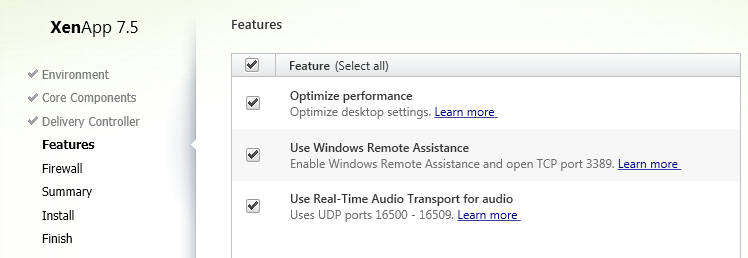
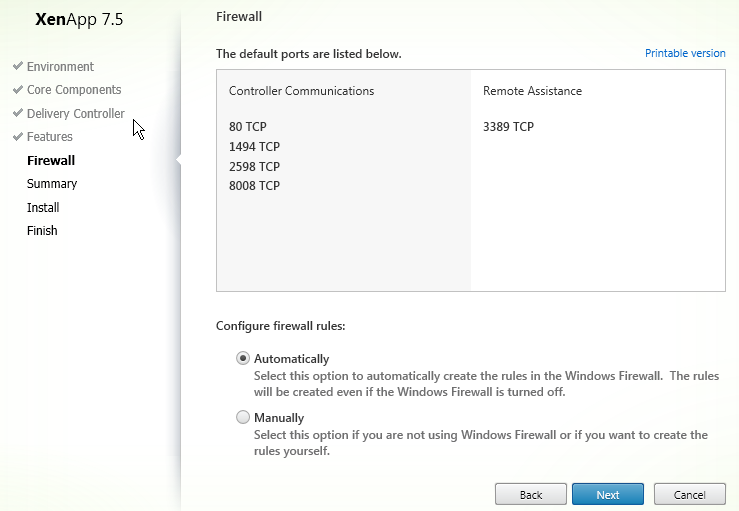
The configuration options for the VDA are then given. At this point you can choose whether to enable remote assistance (the replacement for Shadowing) and whether to optimise the OS for performance.
The VDA installer kindly offers to open the required ports in the Windows Firewall for you.
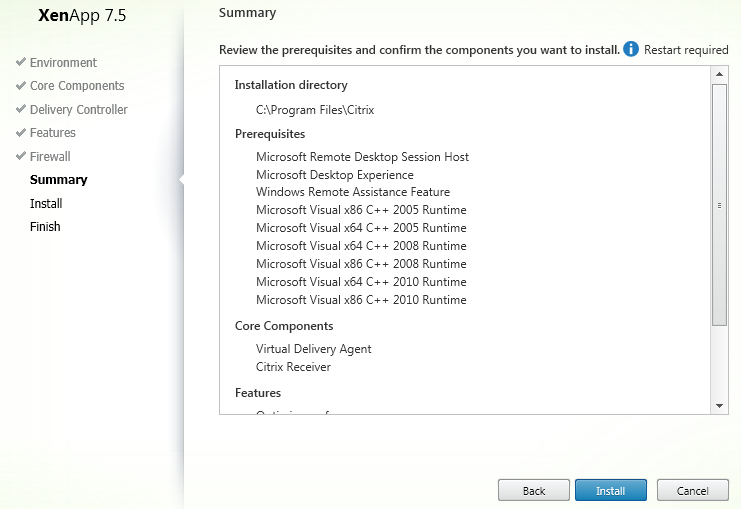
Finally a summary of what will be installed is given (how many Visual C++ Runtimes?!)
A few minutes later everything is done. Only one reboot required to complete the installation.
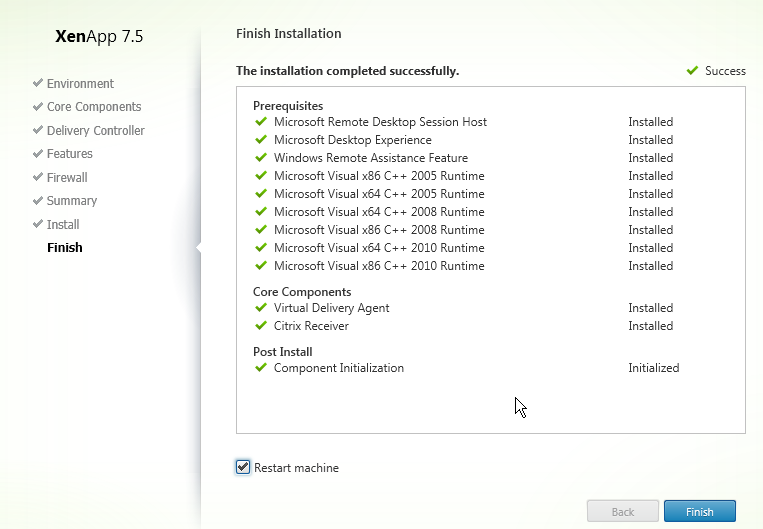
It would be at this point I’d install any other applications that I want to be included in my master image.
The VDA requires at least one reboot, so you can choose to reboot immediately, or as part of your other application installations.
Finally I shut the VM down in readiness for MCS to create the template.
In the next part, I create my first machine catalog in preparation for publishing applications to user.
Leave a comment
You must be logged in to post a comment.
