My experiences with XenClient 2.1 – part one – installation and Receiver GUI
Introduction
I’ve been wanting to take a look at Citrix XenClient type 1 hypervisor for some time, but my trusty HP Elitebook 8530W, despite having the correct Intel v-pro chipset, contained an NVidia graphics GPU so was unsuitable.
I’d been wanting a smaller, lighter laptop for a while for use when travelling (the HP Elitebook weights alot, even with SSD hard disc) so checked the XenClient HCL and narrowed down my choices to either Lenovo X1 or X220. In the end, the Lenovo X220 won out, and I grabbed a bargain in the “Black Friday” sales.
This is the first part of a series on posts on XenClient:
Part 1 – installation and management GUI (this post)
Part 2 – Creating and configuring a Windows 7 VM
Part 3 – Hardware compatibility
Part 4 – Performance tests
Part 5 – Image management using Synchroniser
Part 6 – Findings
Click on any of the screenshot thumbnails for the full size versions.
Installation
This was remarkably simple. Downloaded the ISO (mycitrix account required), then because the Lenovo X220 doesn’t have a CD/DVD drive, I created a bootable USB pen drive using this utility from PenDriveLinux.
Booting from the into the XenClient installer, then followed the wizard to install the software. I chose to destroy the existing factory Lenovo Windows 7 partitions. Ideally, I’d have opted for creating a multi-boot configuration, but the rather small 128Gb SSD hard disc would of become a limiting factor, so I may just swap the hard drive over if I need an alternate OS/Hypervisor.
Tour of the XenClient Receiver
Citrix call the XenClient administrator interface “Receiver for XenClient”.
Ribbon
The XenClient Receiver GUI follows the now-familiar Citrix grey look and feel, with short-cuts across the top to the various configuration options.
There is battery status indicator in the far right corner, and network icon along side it to configure both wired and WiFi networks, and the System configuration button.
On the left are Power Control drop-down, and Add VM shortcut.
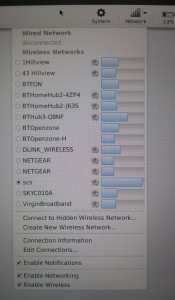
Clicking on Network you get a list of the available wireless networks:
As you can see my neighbourhood is “well connected” when it comes to WiFi!
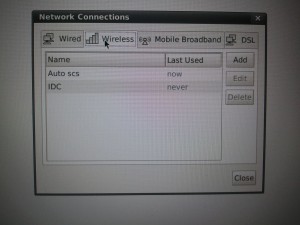
You can choose “Edit connections..” from this menu to edit/remove any existing connections you have setup:
System options
Clicking on the System options we get the main configuration settings window appear.
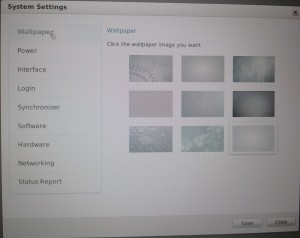
1. Wallpaper settings
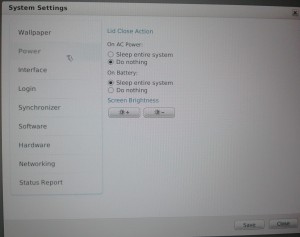
2. Power options
Here we can configure the lid closure actions, and screen brightness.
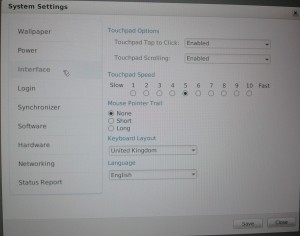
3. Interface
The user interface options such as mouse/trackpad speeds and GUI language.
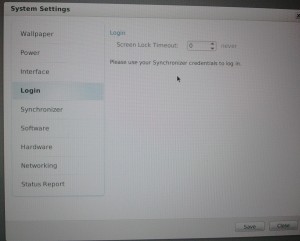
4. Login
Note the message about synchroniser credentials. Unfortunately I didn’t grab a screenshot of this before I attached my system to a Sychroniser, so there may of been some additional options here.
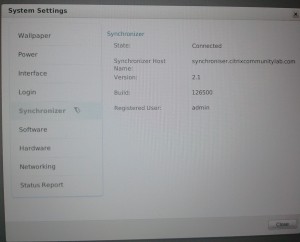
5. Synchroniser
This is where you “pair” the XenClient with the remote Synchroniser. Once paired, the connection status, version of the server, and userid in use are reported as shown in the screen shot.
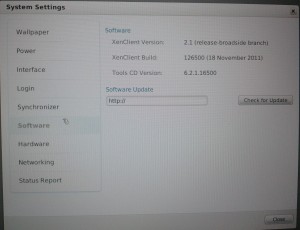
6. Software
The version of XenClient is shown here, with an option to update. It’s interesting that the update URL is not set, even when you’ve configured a Synchroniser.
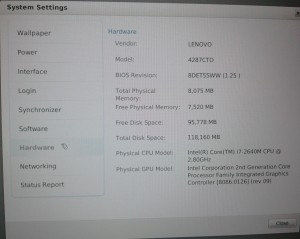
7. Hardware
Hardware details include memory usage, PCU and GPU types.
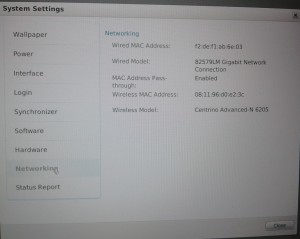
8. Networking
The various MAC addresses and chipsets of the detected networking hardware.
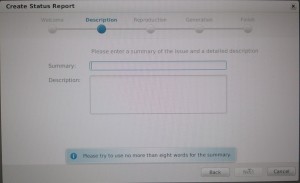
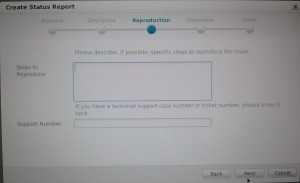
9. Status report
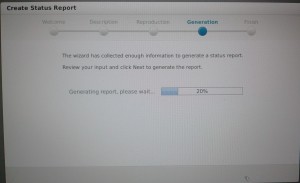
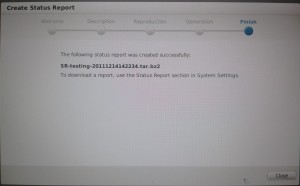
For troubleshooting, XenClient can build a status report, including screenshots of the VMs. This is wizard-based:
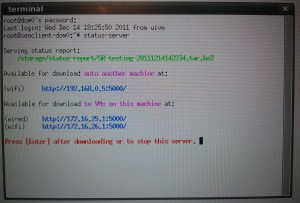
The file is saved to /storage/status-report/ on Dom0 so can be retrieved using SCP/SFTP.
There is also a mini web server that you can temporarily bring online to server this file via Dom0 to an external PC via port 5000:
What does this file contain? Quite a bit! Here’s the complete listing:
acpi-info.tar.bz2 ac_adapter-state.log bed.out.tar.bz2 blktap2-devices.log
brctl_show.log config-data.tar.bz2 cpuinfo.log ctxusb-daemon-state.log
db.tar.bz2 df-h.log dirlisting.txt disksyncmgr.out.tar.bz2
dmesg-sysrq.log dmesg.log dmidecode.log edid-igfx.log
edid-parsed.log eth0-link-state.log eth0-oper-state.log ethtool.log
fdisk-l.log fstab.tar.bz2 guest-process-stats.log host-installer.log.log
hvm-info.log ifconfig-a.log ifconfig.log install-data.tar.bz2
iwlist-scan.log large-files.log ls-backend-certs.log ls-sys-block.log
lsmod.log lspci-mmnn.log lspci-mmnnv.log lspci-vvv.log
lspci-xxx.log lsusb-t.log lsusb-v.log lsusb.log
lvs.log mount-l.log netstat-ln.log netstat-tn.log
ping-uivm.log ps-axfl.log psauxZ.log pvs.log
rfkill.log route-n.log screenshots.tar.bz2 selinux-config.log
sound-alsactl-store.log sound-amixer.log status-report.log storage-disks-scan.log
swaps.log syslog.tar.bz2 temperature.log top.log
tpm_version.log txt-stat.log uname-a.log upgrade-data.tar.bz2
USB_fakenames.conf.log usb_pm_info.log user-report.xml.log vgmch_dump_regs.log
vhd-check.log vhdsync-cksums.tar.bz2 vm-customizations.tar.bz2 vms.tar.bz2
wlan0-link-state.log wlan0-oper-state.log xc-diag.tar.bz2 xenclient.conf.log
xenmgr-xenvm.tar.bz2 xenops_list.log xenops_physinfo.log xenstore-ls.log
xenstored-access.tar.bz2 xentop.log xen_dmesg.log Xorg.0.log.tar.bz2
 84 File(s) 1,389,543 bytes
 2 Dir(s) 16,000,061,440 bytes free
Keyboard shortcuts
There are a number of useful CTRL/ALT key combinations whilst inside the Receiver console:
CTRL+Q : Reload the console
CTRL+SHIFT+T : Open a SSH terminal window
CTRL+SHIFT+H : Open a larger terminal window
CTRL+SHIFT+I : Easter Egg! (ASCII Invaders – nice!)
CTRL+ALT+r : Create a status report
CTRL+ALT+Backspace : Lock the Receiver screen
CTRL+0 : Return to the Receiver (from within VM)
CTRL+n : Switch to VM number n
So that completes the installation and tour of the XenClient Receiver.
In part two, I’ll create a Windows 7 x 64 Virtual machine, and take a look round the options we have of exposing the underlying hardware (OEM indentification strings in the BIOS and 3D graphics chipset) to the VM, and what VM management features we have via Receiver GUI.
Thanks for reading. Check back soon!
Useful resources
PenDrive Linux – for creating the bootable USB installation
Kees Baggerman blog post – some useful tips on getting up and running
XenClient documentation (PDF) – sadly not on eDocs!
Leave a comment
You must be logged in to post a comment.


