First look at Citrix Kaviza “VDI-in-a-box” – part 2 creating master image
In Part one of this series I covered setting up the appliance.
Part two (this post) – we’ll look at preparing our first master image
Part three – Creating a template from our first image and assigning to users
Prepare our master image
Kaviza breaks down creating our master image into five stages:
- Install
- Edit
- Prep
- Test
- Save
1. Install image
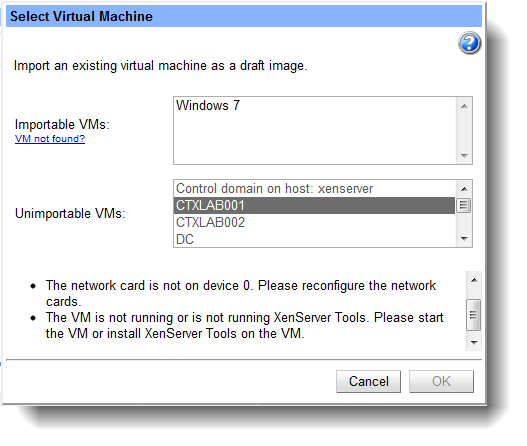
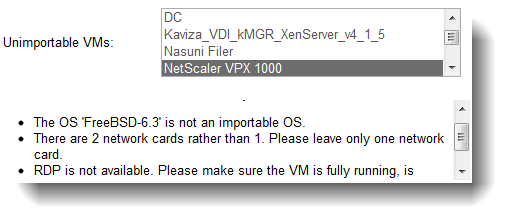
To create our first master image we need to select an existing VM on our hypervisor that will be cloned and imported into the Kaviza server. Kaviza is quite fussy about the type of images you can import and checks VMs that they meet all the requirements for becoming a Kaviza master image:
- The VM is ‘Started’ and is in a ‘Powered On’ state.
- It is a Microsoft Windows XP Professional (32-bit) or a Microsoft Windows 7 (32-bit or 64-bit) Professional, Enterprise, or Ultimate VM.
- There is only one network card, and it is the first network device.
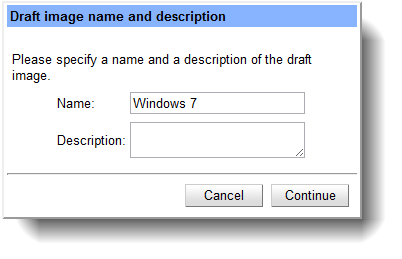
- There are no other VMs with the same name.
- The VM name contains only letters, numbers, spaces ( ), periods (.), hypens (-), and underscores (_).
- The VM has only one disk image.
- Has Remote Desktop enabled
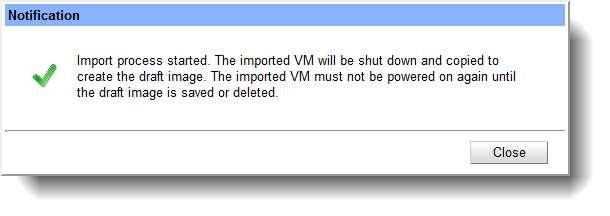
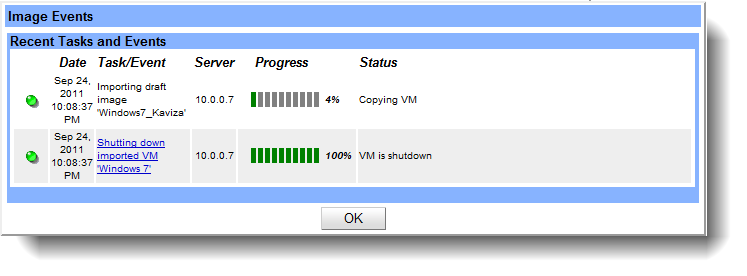
And then our import begins:
Kaviza will power off the template VM, clone it, then add it as an image on the Kaviza server.Kaviza talks directly to the hypervisor (XenServer in our case) to perform these actions, so any features offered by your storage repository such as thin provisioning can be used. Kaviza also doesn’t care what kind of storage you are using, and is quite happy with local storage on each XenServer.
You can obtain detailed progress by clicking on the status column:
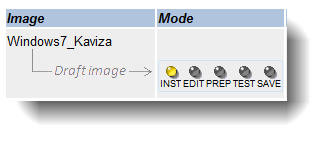
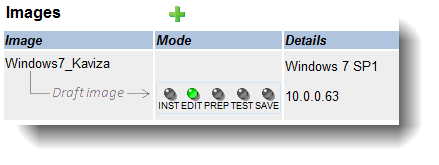
Kaviza maintains an overall progress dashboard on how far you have progressed in configuring this image:
The next step is to edit the imported image to install the Kaviza and HDX VDA.
2. Edit image
Choosing Edit image from the dashboard provides a link to connect to the VM via RDP and also some basic Hypervisor control options such as Restart and Shutdown.
Choosing Connect, we get to choose some basic RDP features we can enable:
Clicking on the “Connect using the RDP protocol” downloads an RDP file that can then be used to connect to the master VM to allow installation of the VDA.
Install Kaviza VDA agent
Once logged into our master Windows 7 VM we can download the Kaviza VDA from the Kaviza server over http:
http://kavizaserver/dt/dtagent.exe (for 32-bit VMs)
http://kavizaserver/dt/dtagent64.exe (for 64-bit VMs)
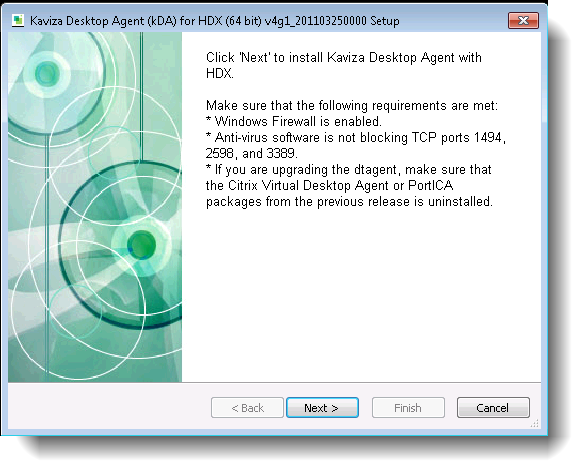
Starting the installer we’re warned about some firewall requirements. It’s a rather strange requirement that windows firewall is enabled, but I can’t see why the VDA wouldn’t be happy if you weren’t using the built-in Windows firewall!
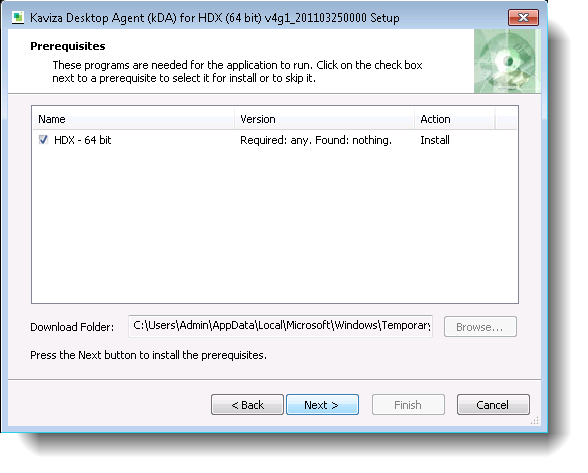
The VDA now displays the pre-requisites required, the only one being Citrix HDX:
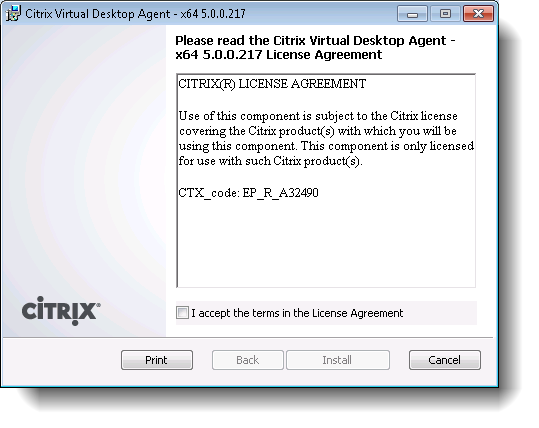
A separate installation is initiated for HDX, which seems strangely familiar:
If you think this looks very much like the XenDesktop VDA installation you’d be right. Note the version – it’s version 5.0. Hopefully Citrix will be upgrading this to v5.5 to support some of the new HDX features released in XenDesktop 5.5.
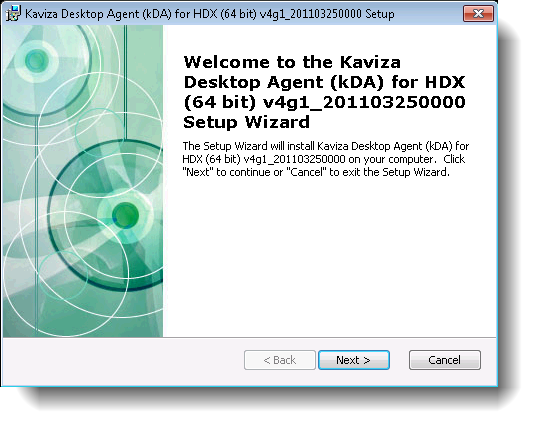
Once the HDX components have been installed, the Kaviza VDA installation then begins:
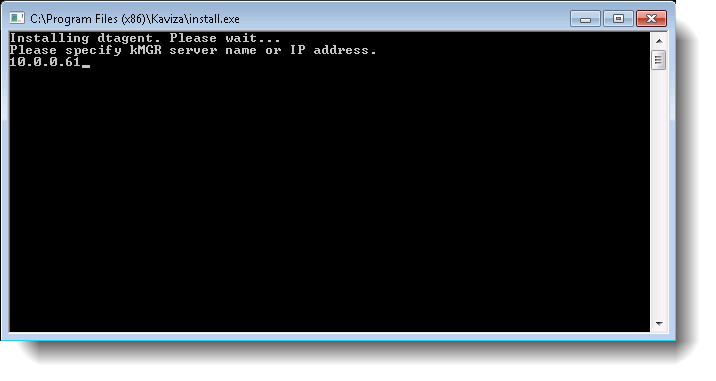
A rather strange configuration step is manually entering your Kaviza server address into a DOS window, although during a second run-through of creating the entire environment I didn’t receive this prompt, so it may have been a one-off.
Examining the VM, this value gets placed into a configuration file in %programfiles%\Kaviza\agent.conf which is rather unfriendly if you wanted to configure this via Group Policy for example. Storing it in the registry would allow more flexibility.
At this point we should also install any software that needs to be in our master image.
Our VM now reboots having completed the VDA installation, and returning to the admin console we see that we’ve now moved onto the next stage, image preparation.
3. Image preparation
Clicking Edit now brings up a different dialog:
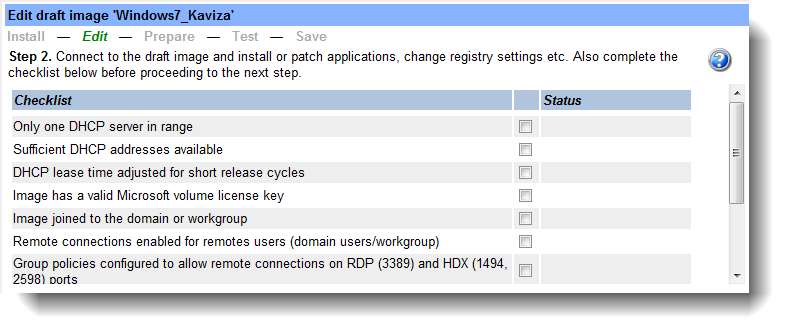
Unlike the Provisioning Server image prep utility that makes registry changes on your behalf, this is a checklist of items that you need to complete manually in the master image.
Rather than just add “Domain users” to the Remote Desktop Users local group in the VM, I prefer to create a specific domain group for this purpose, and add that to the local group – far more secure than just allowing anyone RDP access.
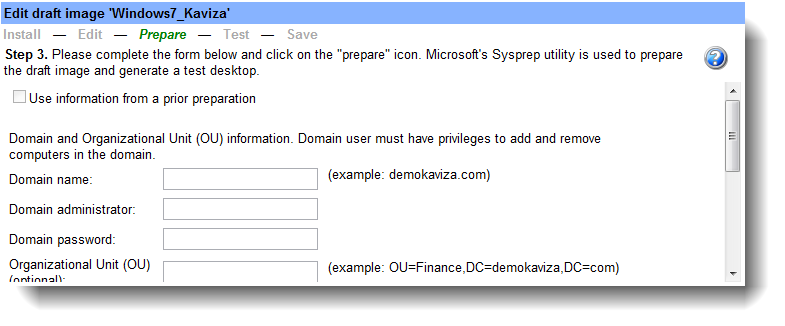
Once you have completed the checklist, you can then move onto the next page of the preparation wizard by clicking on the “prepare” link
This opens the next page of the configuration wizard to allow configuration of the Active Director OU where Kaviza will create the computer objects for provisioned VMs.
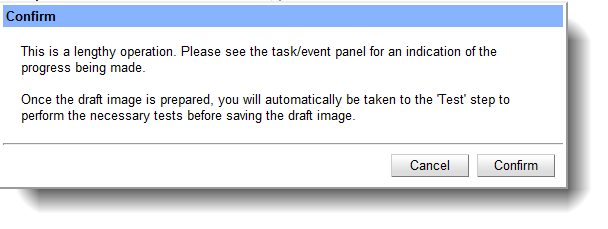
After entering all the details and clicking next, we get a warning that we might have to be patient…
Kaviza then runs sysprep on the image and creates a clone called “OriginalNameCandidate” and remains powered off whilst you test the image created from it.
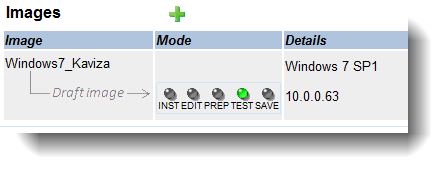
Our dashboard shows that we’ve now reached the image test stage.
4. Image testing
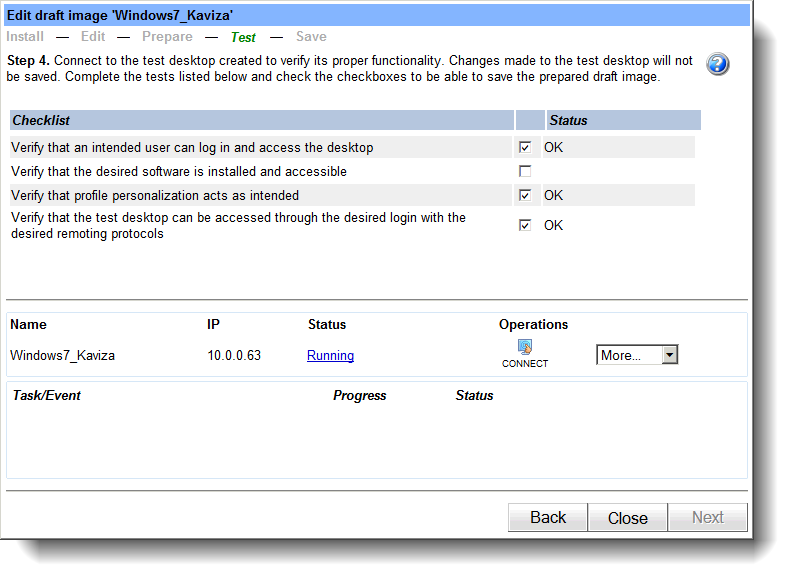
And our Edit window changes again to show us the kind of things we should be testing:
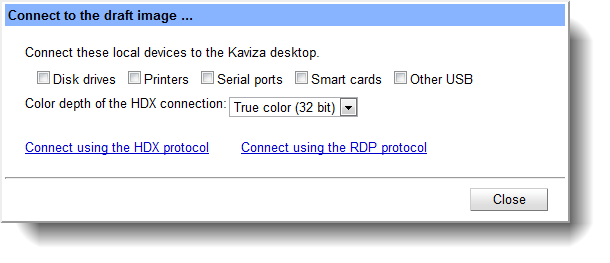
Note the text “changes made to the test desktop will not be saved” – this is because we’re testing on a temporary clone created from the sysprep’ed “candidate” image. Let’s connect to our desktop to perform the tests. Now that we’ve installed the HDX VDA, we have two connection protocol options:
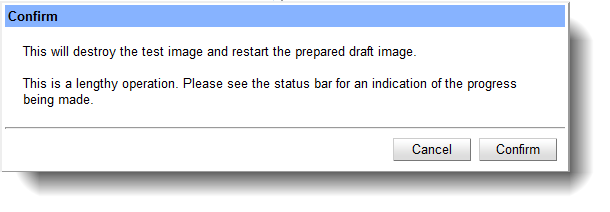
I connect to my test VM, but realise I didn’t install the Receiver client into the master image, so can’t connect to my XenApp hosted apps. Note that you can only proceed and click “Next” when you’ve manually checked all four of the tests. Because my software build in the master image isn’t correct, I choose “Back” and Kaviza warns me:
At this point, Kaviza shuts down, then destroys the test image, renames the “Candidate” image back to normal, and powers it back on so you can make more changes.
We can see in the dashboard that we’ve gone back to the image prep stage. I connect back to the master image, and install the Receive client and repeat the process of creating a candidate image.
5. Save completed image
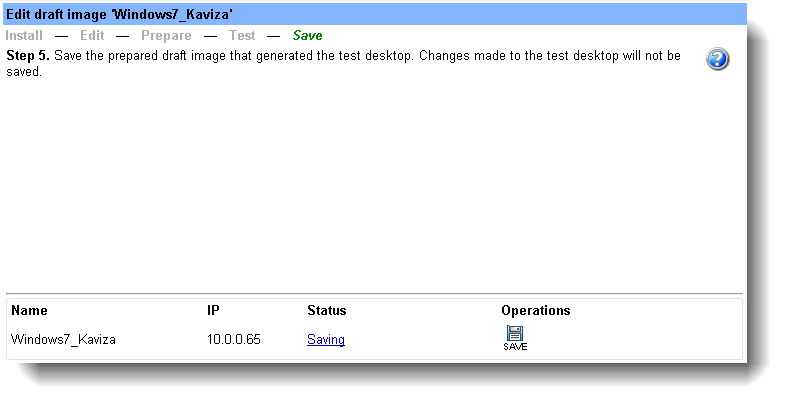
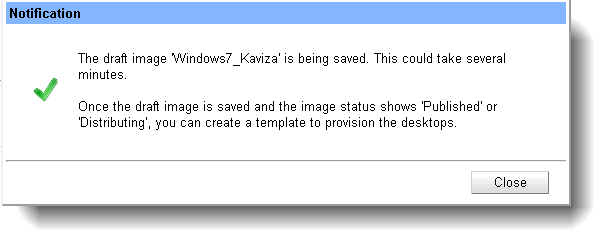
Now we’re happy with our image, we can save it so that we can create templates based upon it. We’re reminded again that any changes we’ve made during our testing won’t be saved.
Clicking on the Save icon
Kaviza now powers down our master VM, then turns it into a template VM. Our progress bar is gone, and we can see that our image is now in the Published state:
We can now create Templates from this image for provisioning to users, or create copies for assigning variants of it. We’ll cover that in our next blog post.
Leave a comment
You must be logged in to post a comment.









One Comment
Leave a commentTrackbacks and Pingbacks