Introduction
This is the third part of a series on posts on XenClient:
Part 1 – installation and management GUI
Part 2 – Creating and configuring a Windows 7 VM
Part 3 – Hardware compatibility (this post)
Part 4 – Performance tests
Part 5 – Image management using Synchroniser
Introduction
This is the second part of a series on posts on XenClient:
Part 1 – installation and management GUI
Part 2 – Creating and configuring a Windows 7 VM (this post)
Part 3 – Hardware compatibility
Part 4 – Performance tests
Part 5 – Image management using Synchroniser
Introduction
I’ve been wanting to take a look at Citrix XenClient type 1 hypervisor for some time, but my trusty HP Elitebook 8530W, despite having the correct Intel v-pro chipset, contained an NVidia graphics GPU so was unsuitable.
I’d been wanting a smaller, lighter laptop for a while for use when travelling (the HP Elitebook weights alot, even with SSD hard disc) so checked the XenClient HCL and narrowed down my choices to either Lenovo X1 or X220. In the end, the Lenovo X220 won out, and I grabbed a bargain in the “Black Friday” sales.
This is the first part of a series on posts on XenClient:
Part 1 – installation and management GUI (this post)
Part 2 – Creating and configuring a Windows 7 VM
Part 3 – Hardware compatibility
Part 4 – Performance tests
Part 5 – Image management using Synchroniser
Part 6 – Findings
In Part one of this series I covered setting up the appliance.
Part two (this post) – we’ll look at preparing our first master image
Part three – Creating a template from our first image and assigning to users

Setting up the server
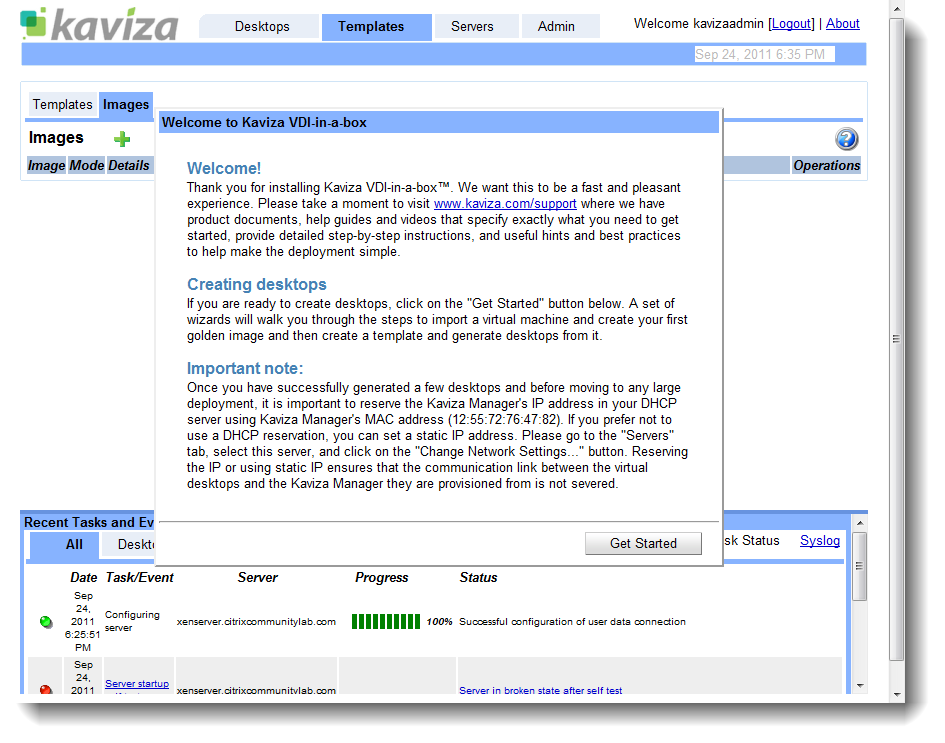
This is part one of an in-depth look at the Kaviza “VDI-in-a-box” solution that Citrix acquired earlier in the year.
Part one (this post) – setting up the server and preparing our master image
Part two – Preparing our first master image
Part three – Creating a template from our first image and assigning to users

